



Venetian blinds
Classic, versatile and practical in every room
Venetian blinds


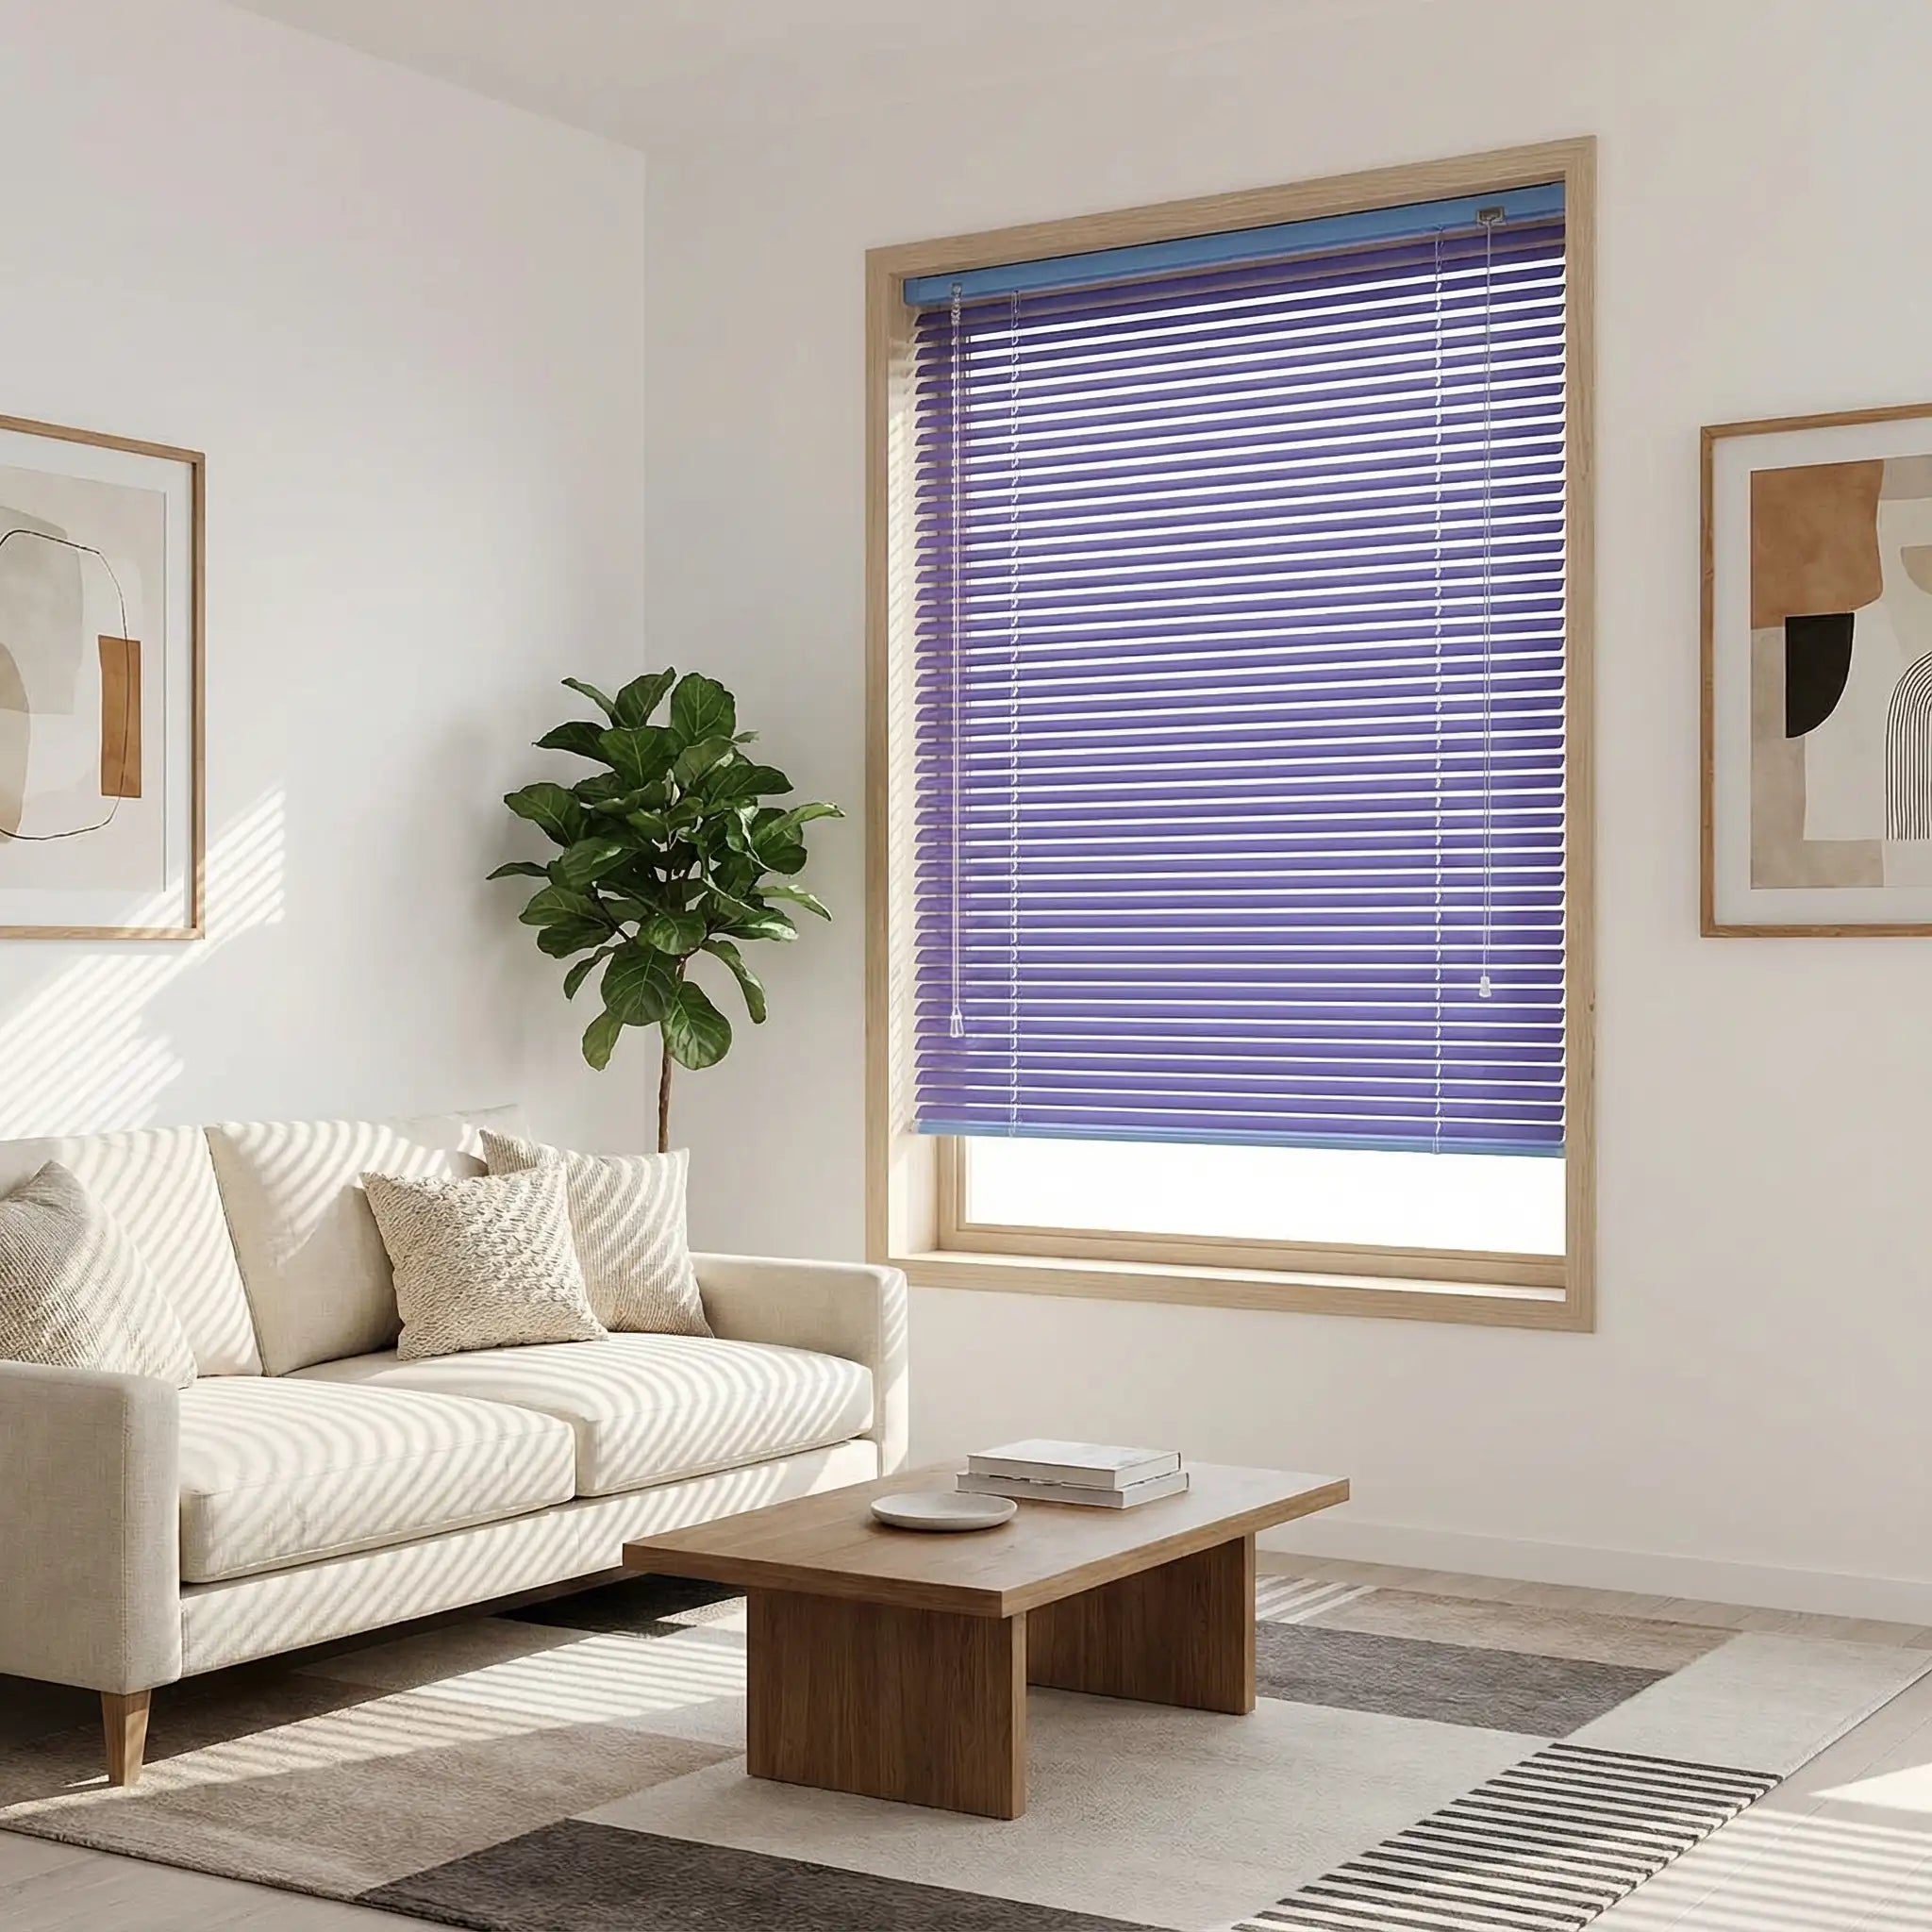
What is Venetian blinds?
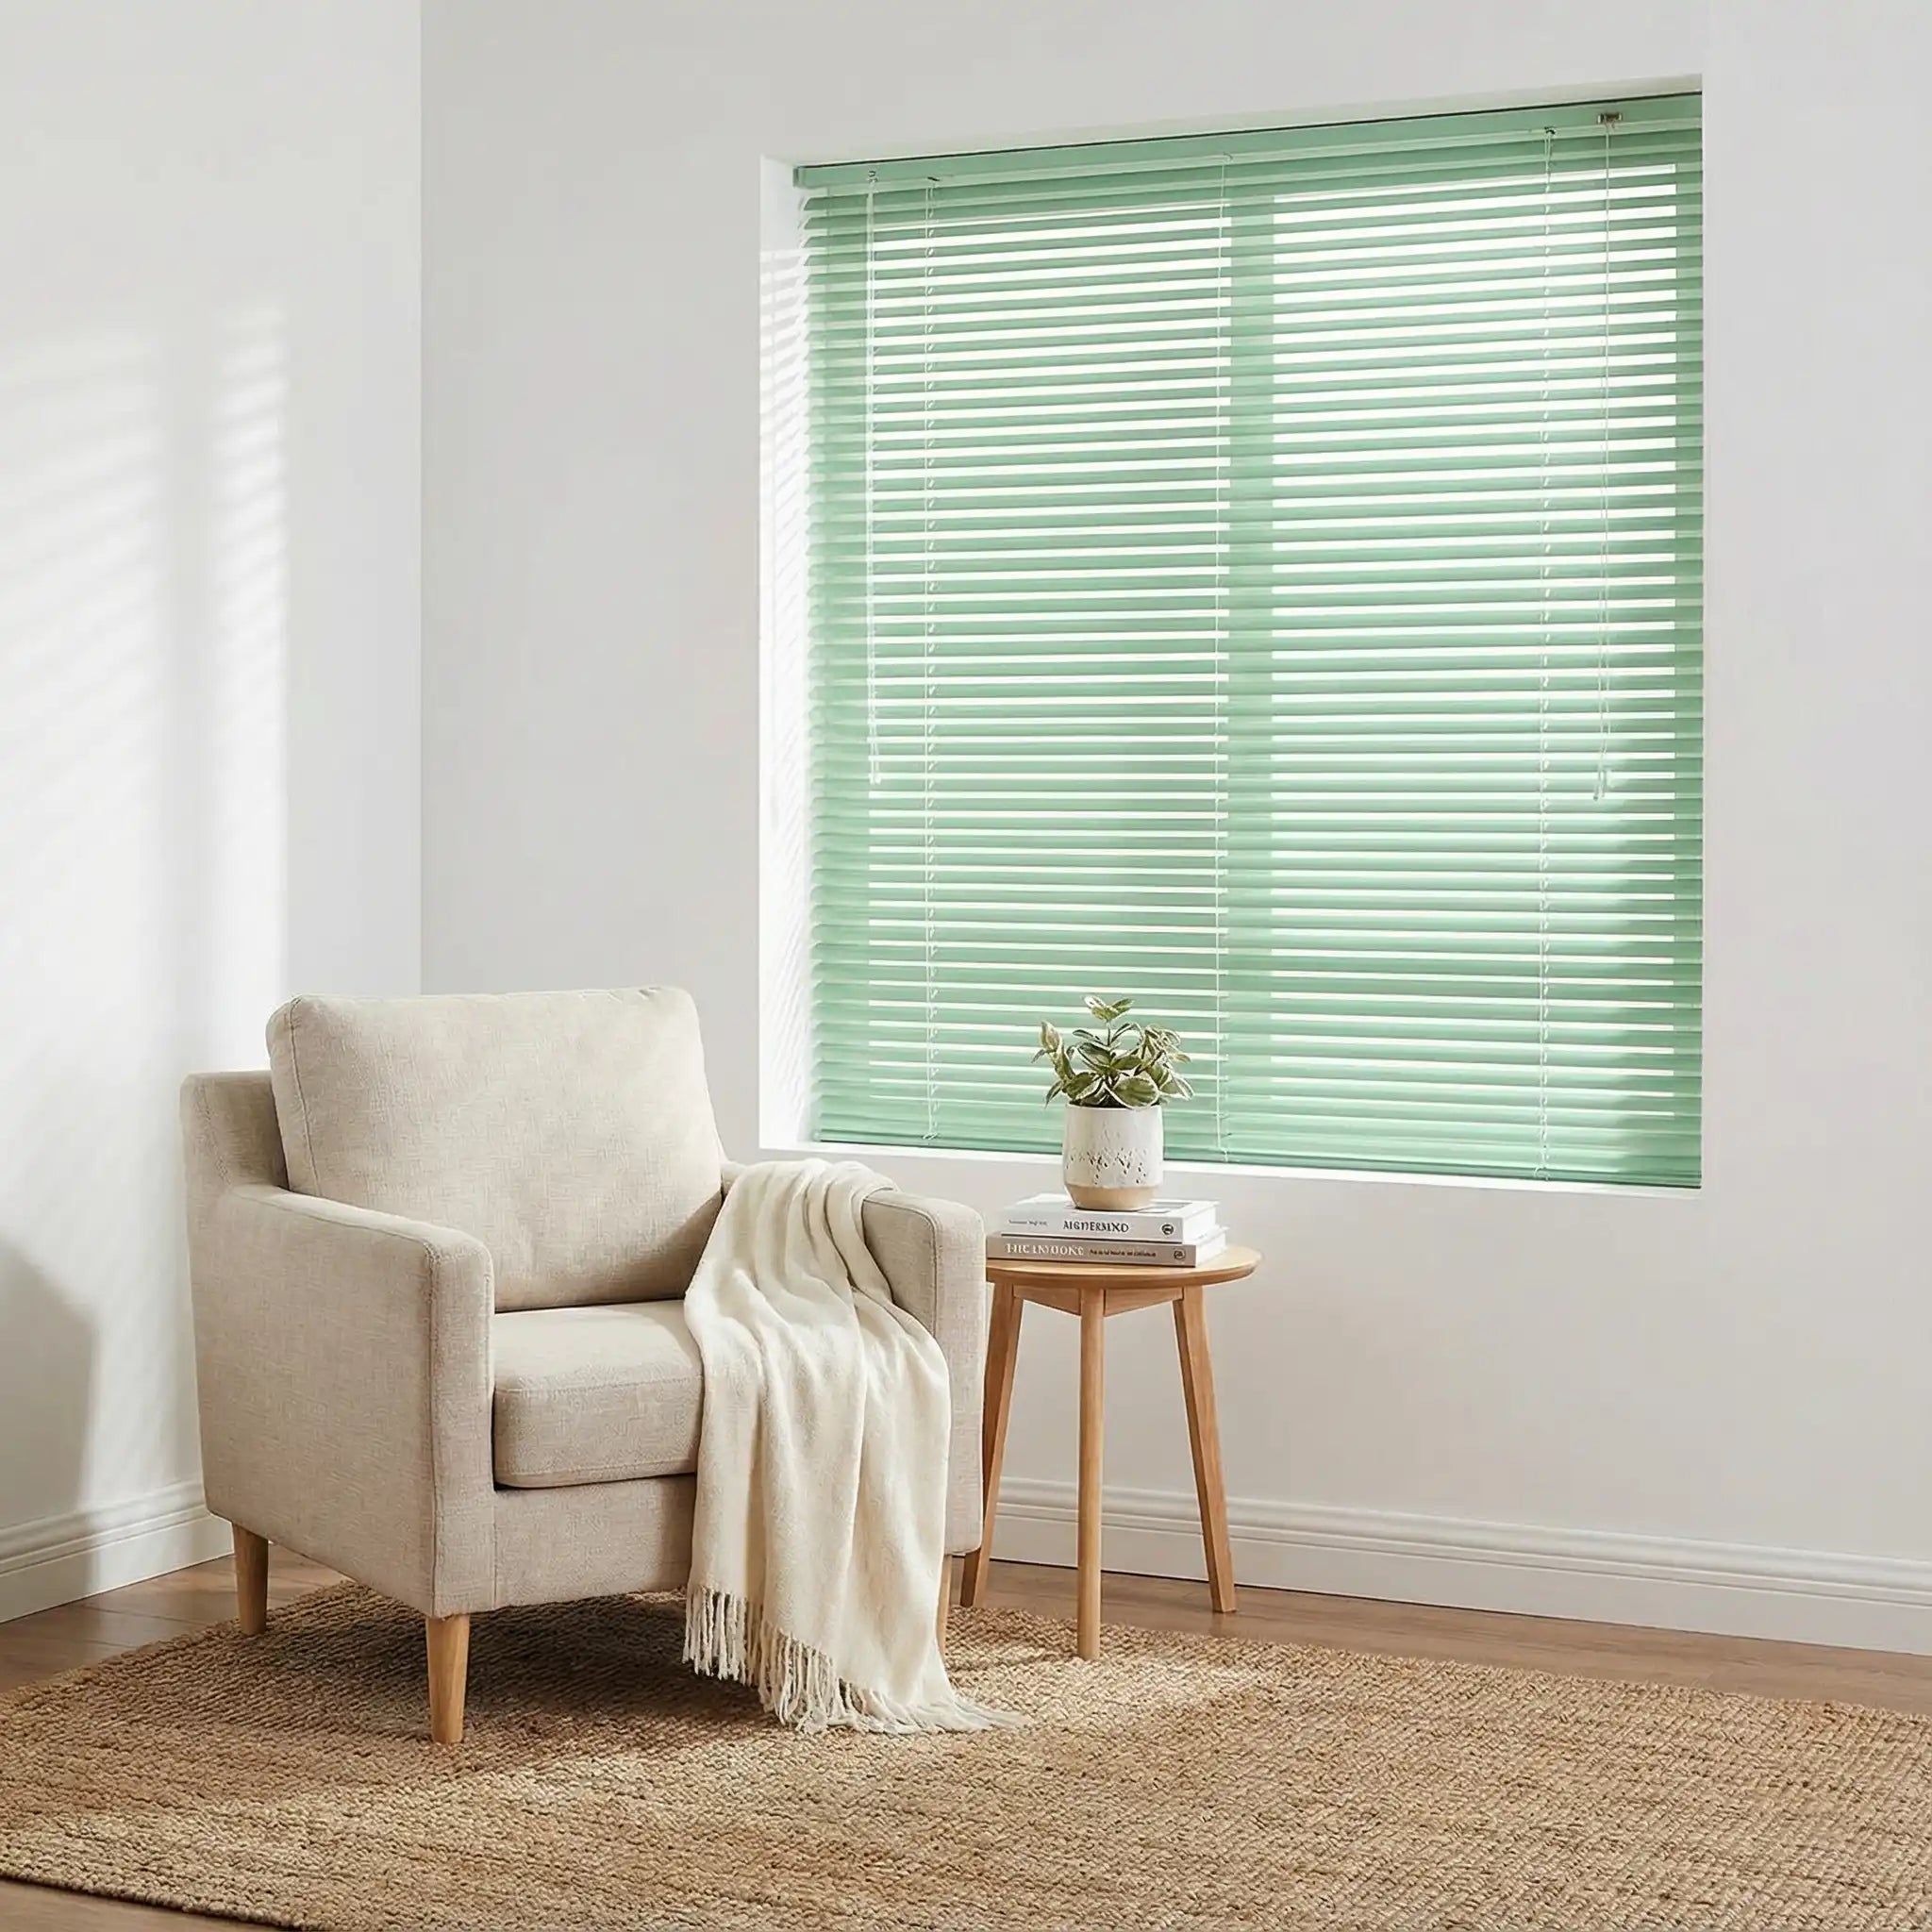
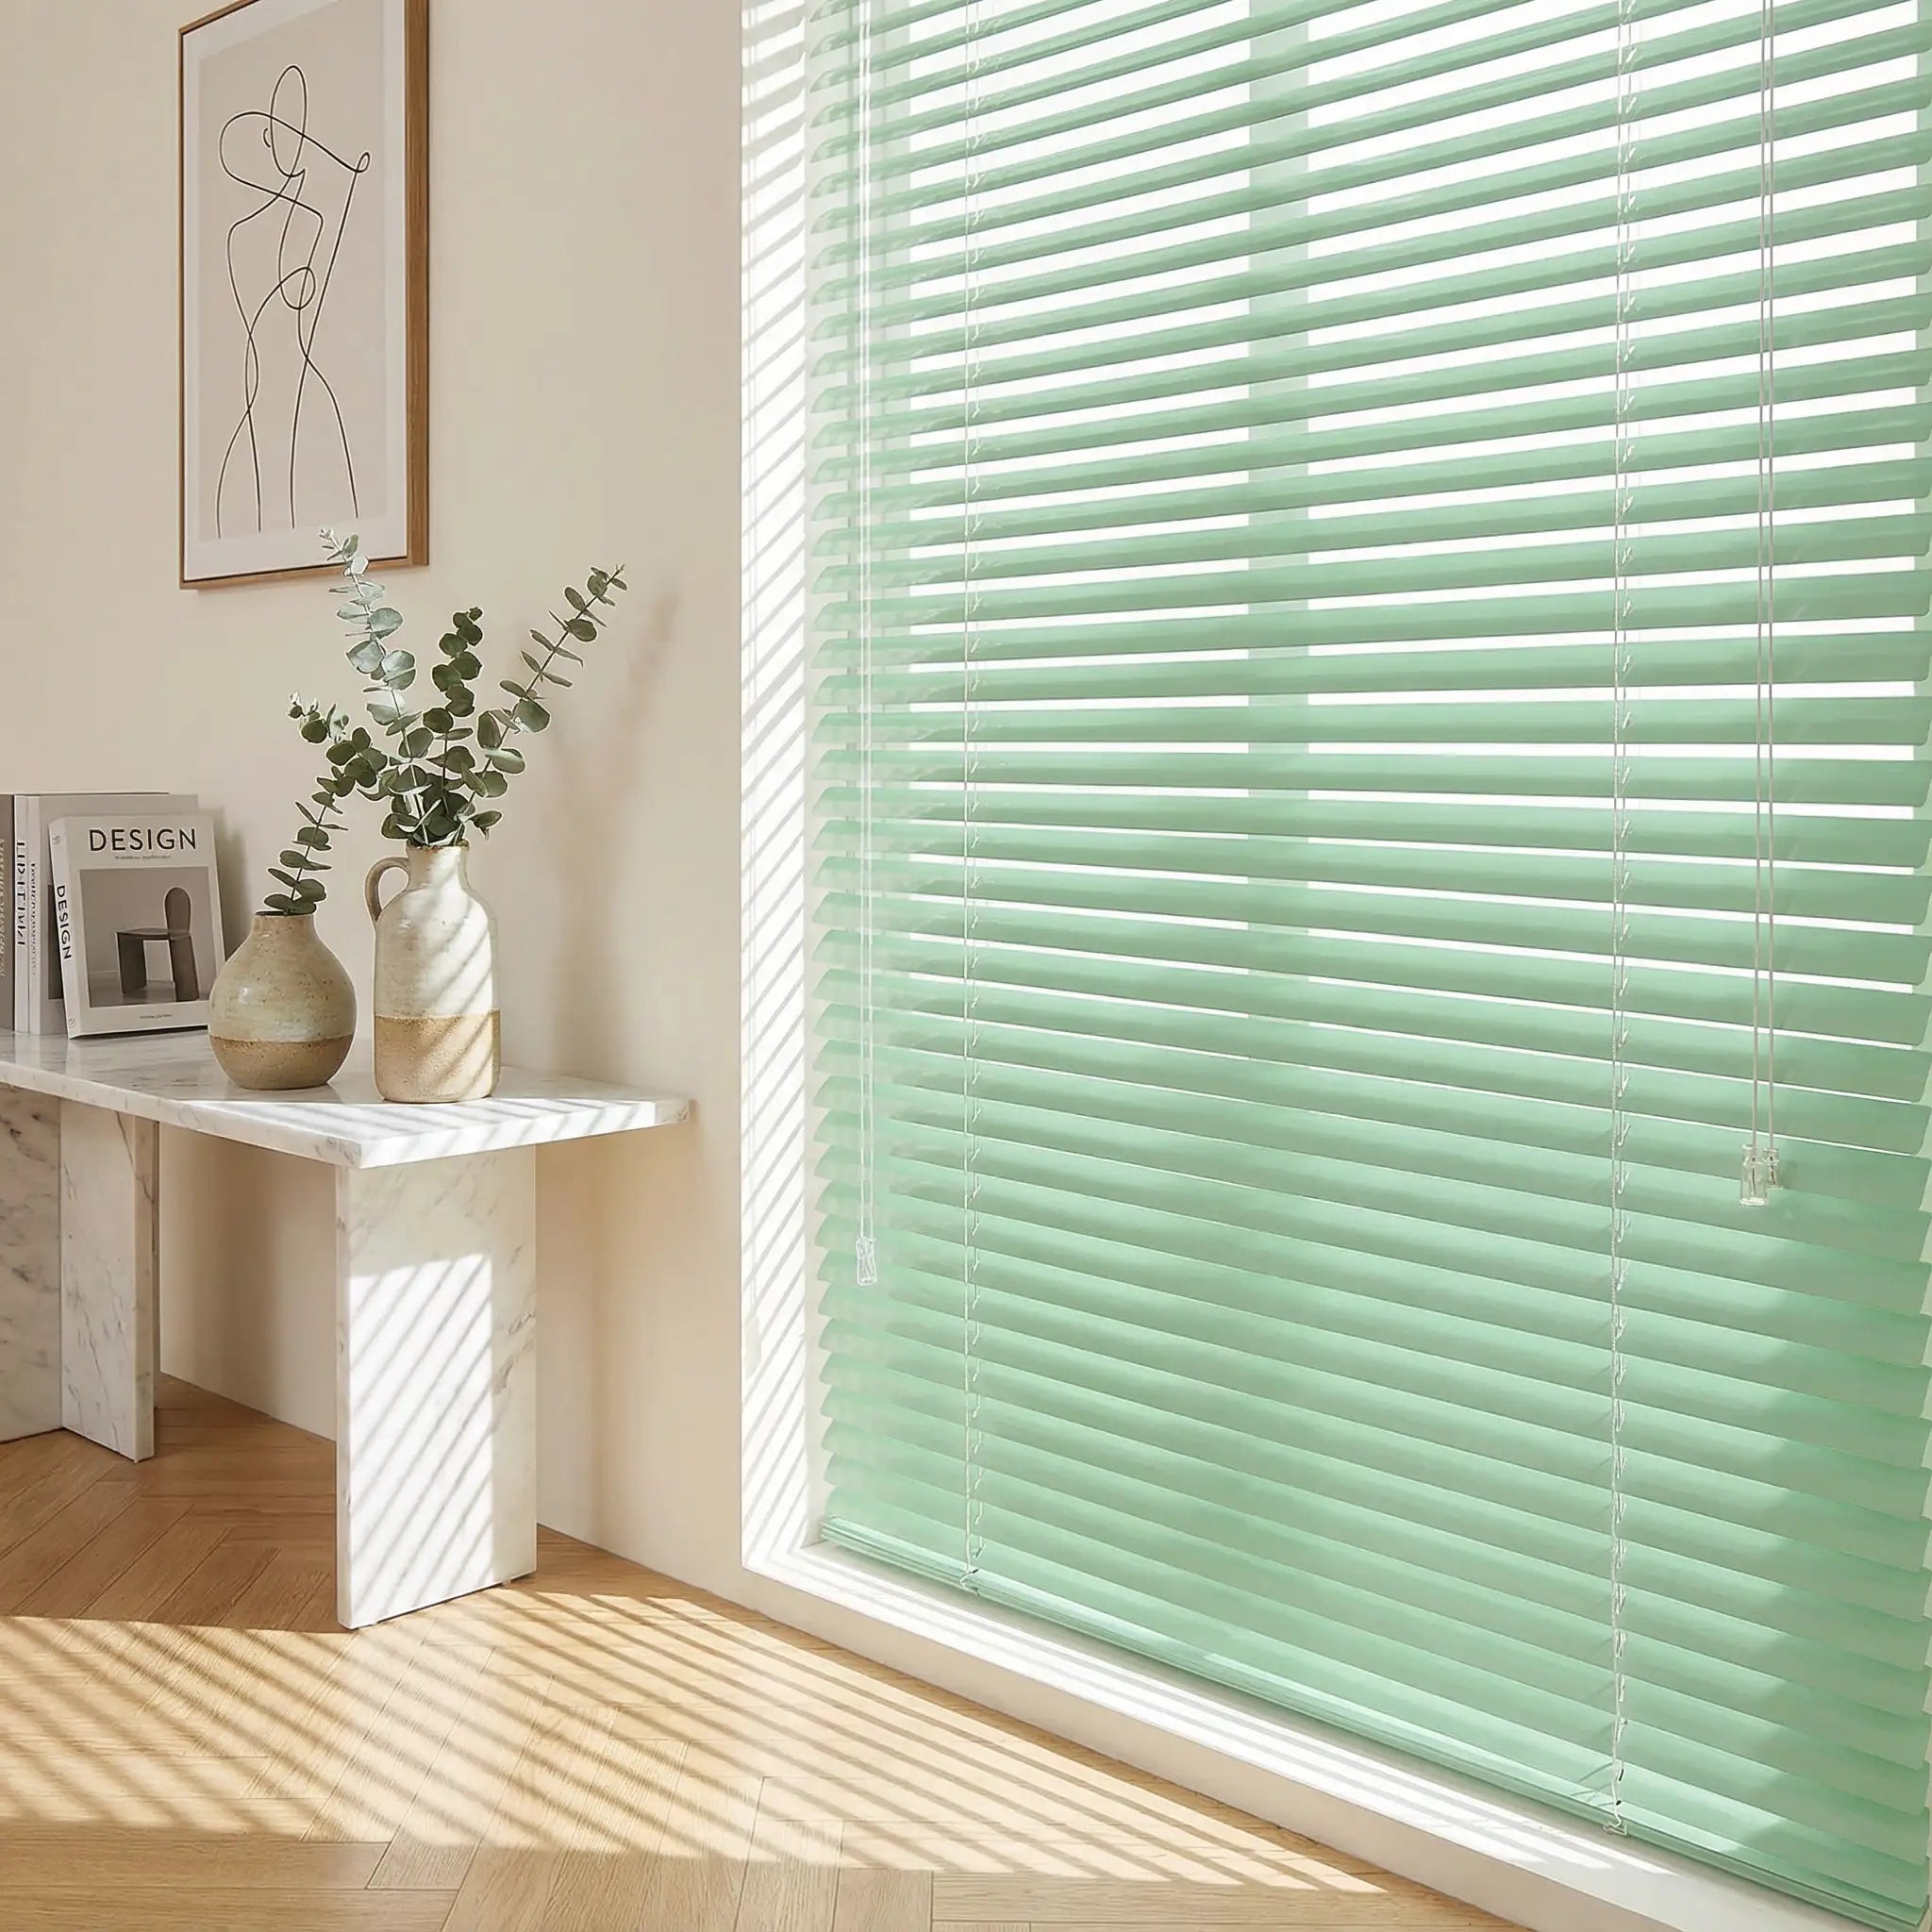
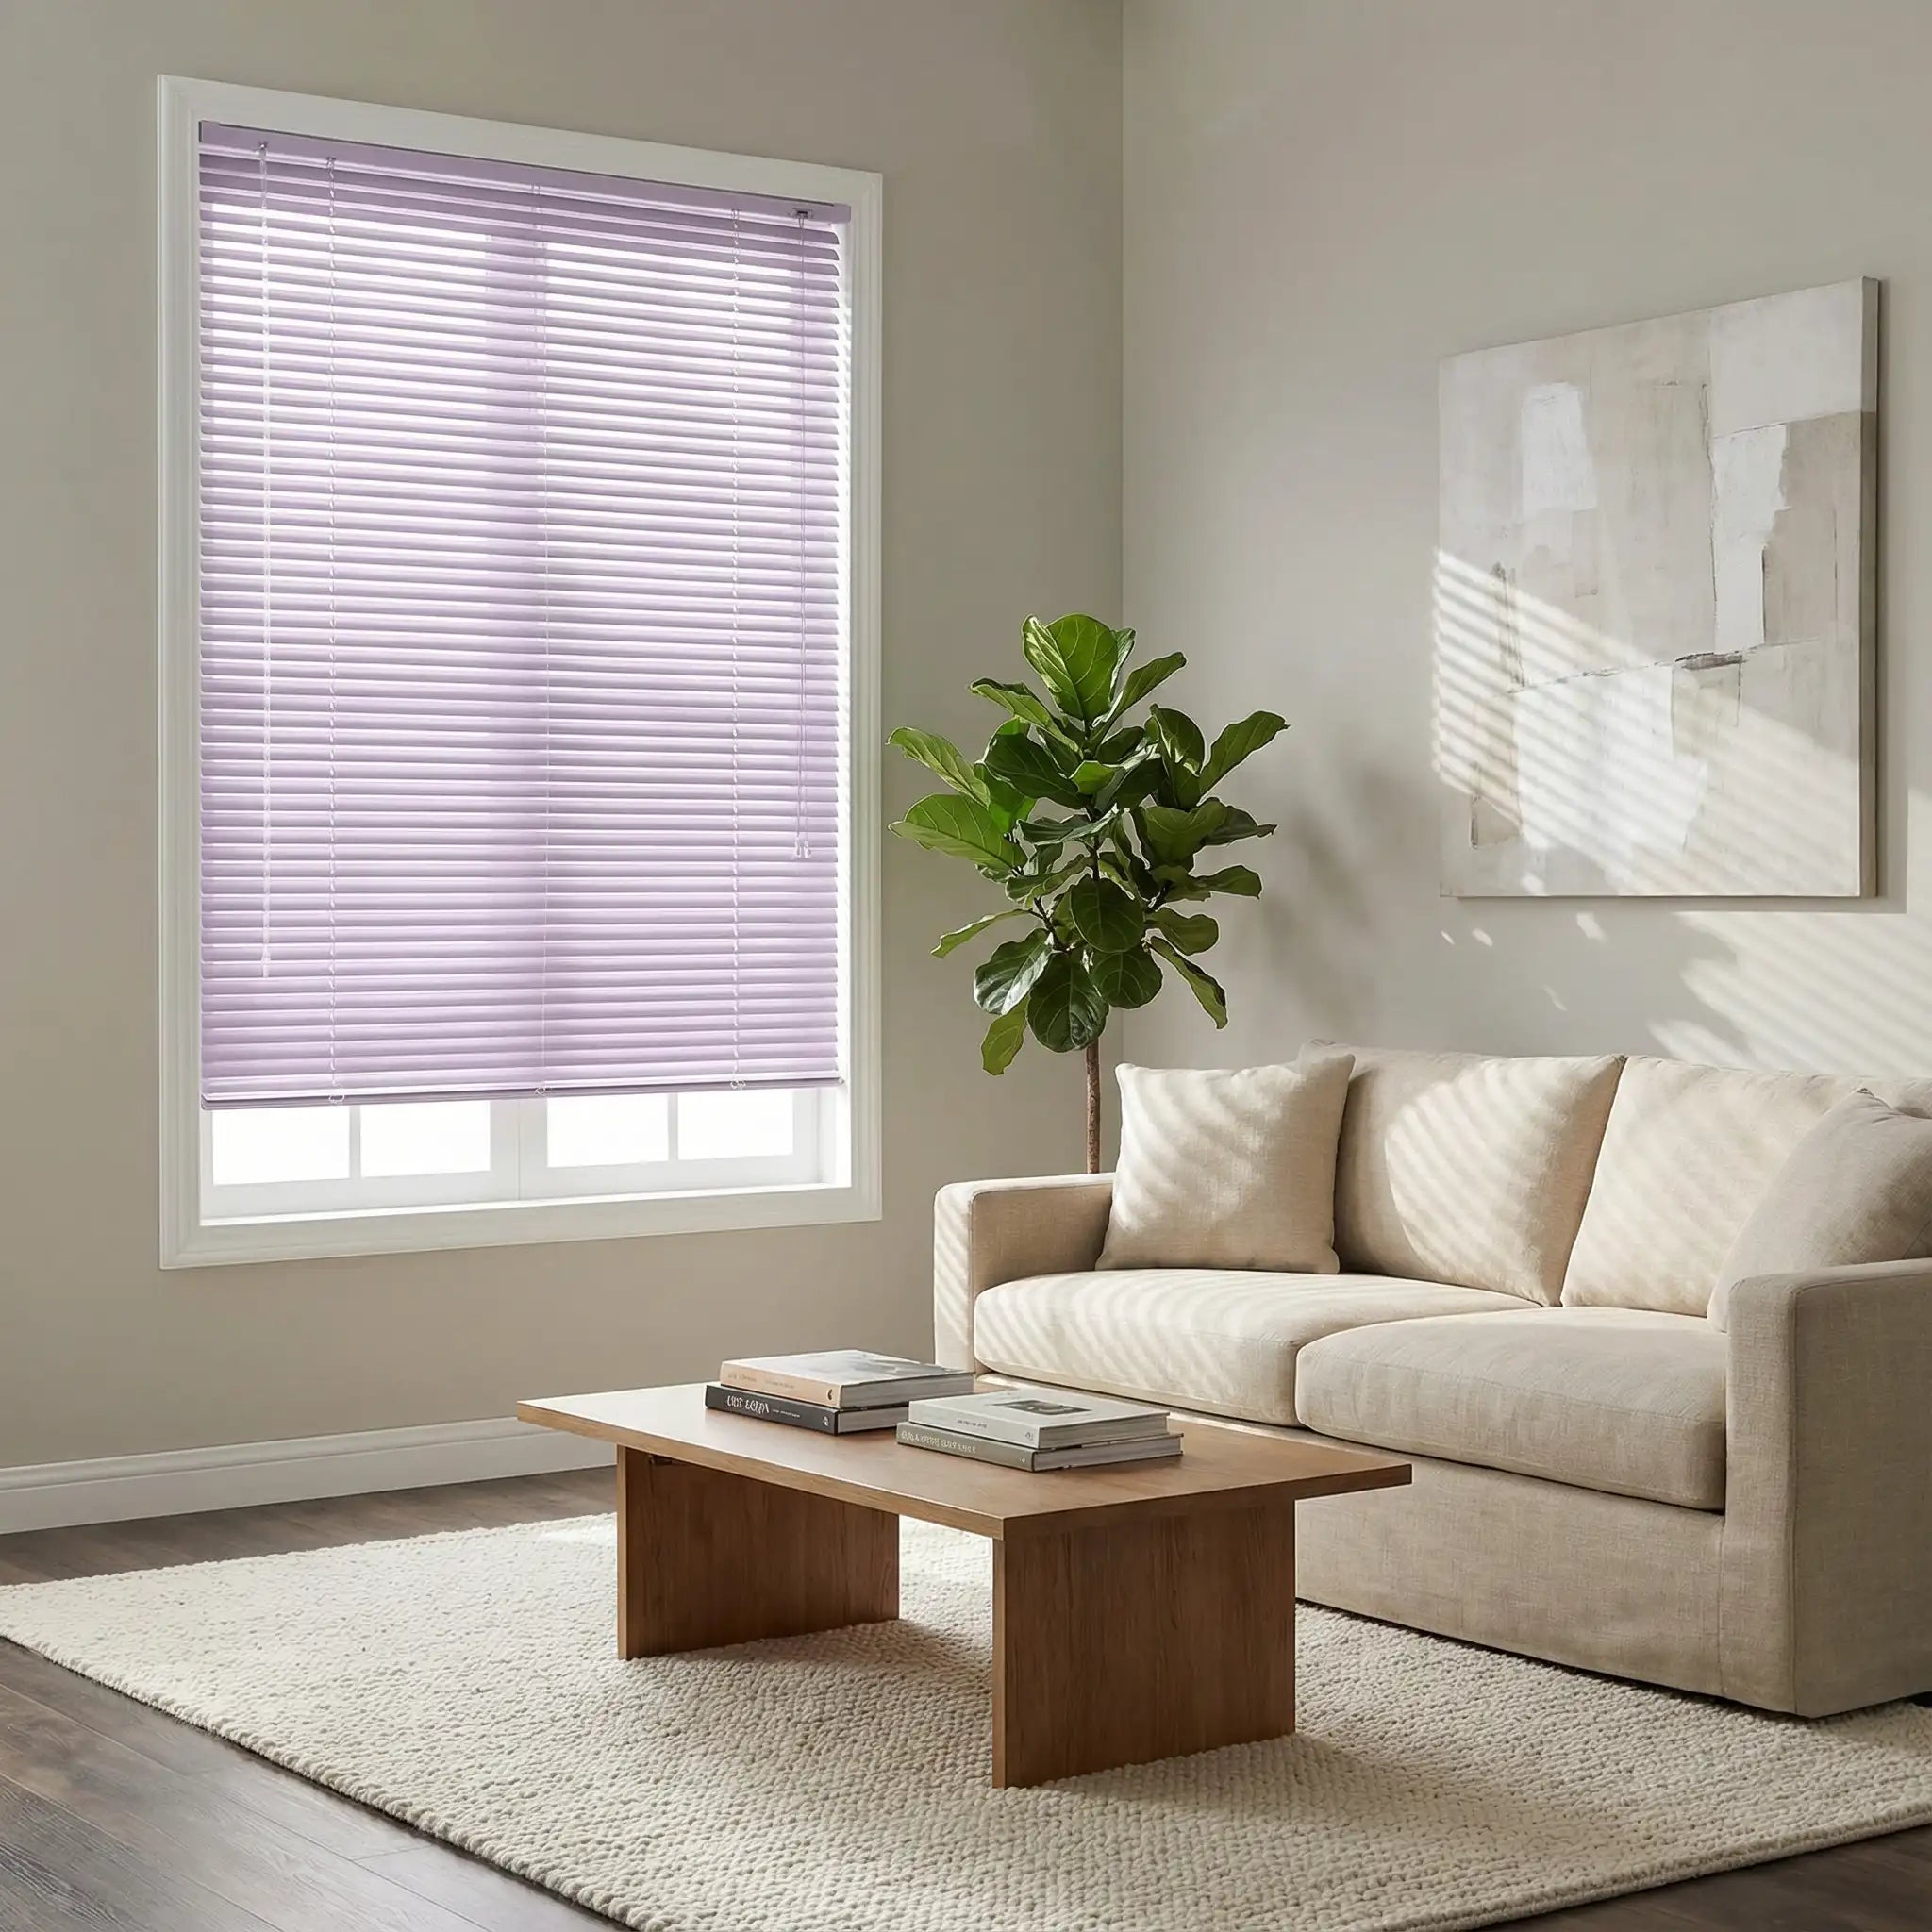
A window shading device that controls light, ventilation, and privacy through adjustable slats.
With easy light control, a choice of materials like aluminum, wood,
they offer a customizable look that’s low-maintenance and timeless.

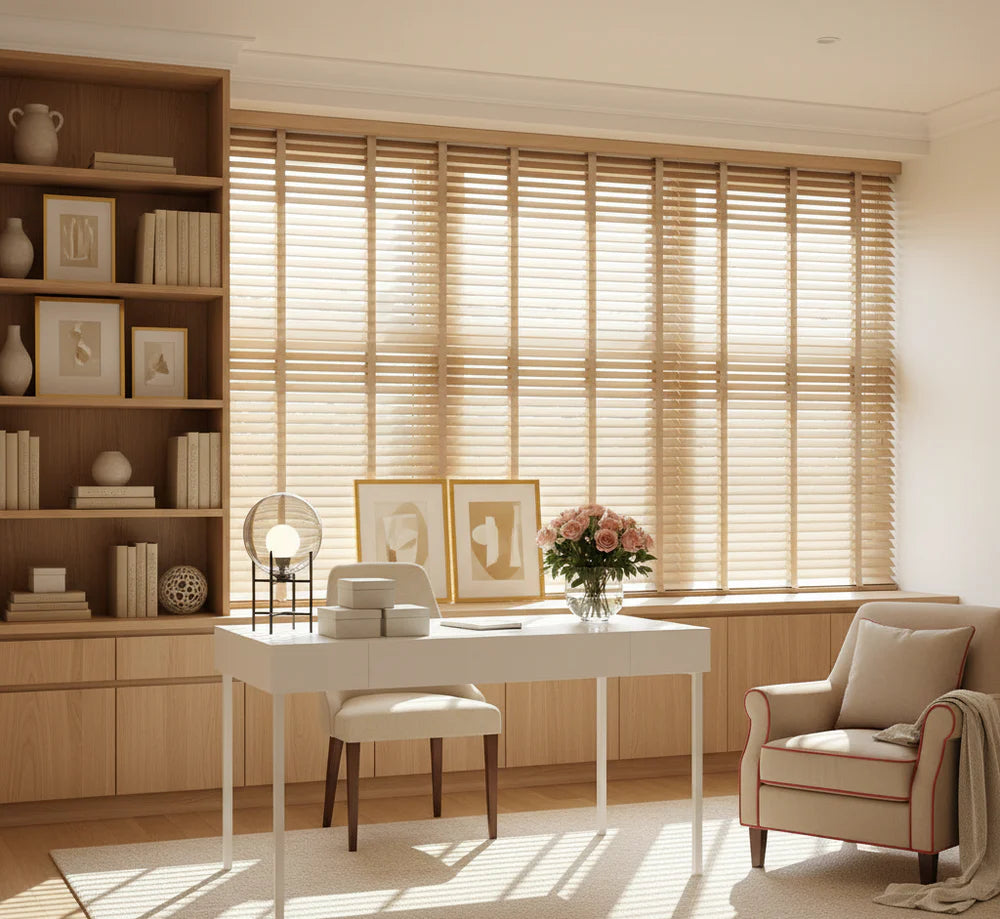

The benefits of Venetian blinds
Venetian blinds bring timeless style and everyday convenience to any space.
With adjustable slats, you can easily control light and privacy,
while choosing from a range of materials and finishes to suit your décor.
Durable, low-maintenance, and endlessly versatile—they’re a smart choice for every home.
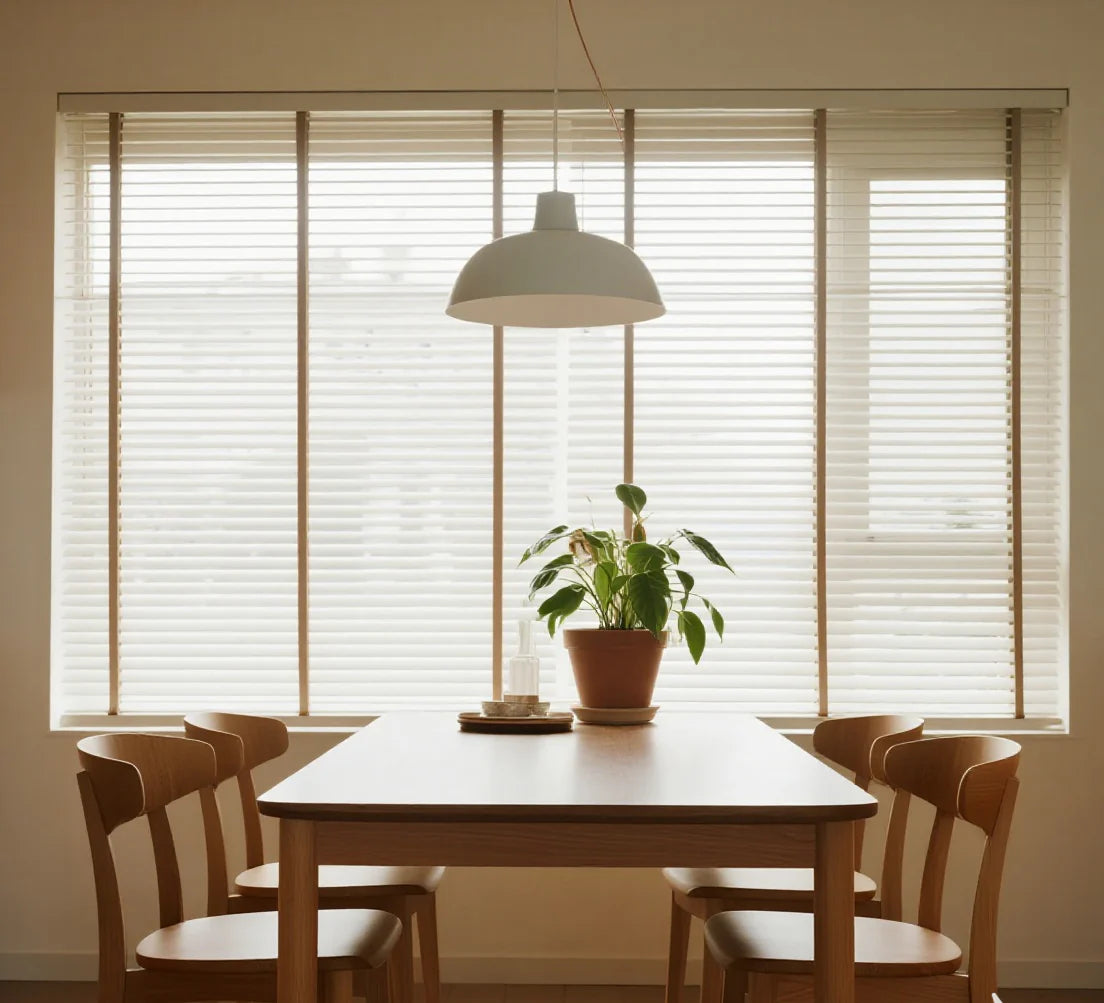
Excellent Light Control
Easily tilt the slats to adjust brightness and direct sunlight just the way you want.
Privacy Flexibility
Angle the slats to let in light while keeping views from outside limited.
Timeless Style
Works well with both modern and classic interiors, adding a sleek yet versatile look.
Variety of Materials & Finishes
Available in aluminum, wood, and faux wood, with different colors and textures to suit any space.
Customizable Appearance
Choose from different slat widths to match your style and window size.
Low Maintenance
Easy to clean with a quick wipe, making them practical for everyday use.
Durability
Sturdy construction ensures long-lasting performance compared to many fabric alternatives.
Frequently Asked Questions
What are the styles of Venetian blinds?
1. By Material
- Aluminum – Lightweight, affordable, modern, moisture-resistant (great for kitchens/bathrooms).
- Wood – Warm, classic look, fits traditional or cozy interiors.
- Faux Wood (PVC/Composite) – Looks like real wood but more durable in humid areas.
- Vinyl – Budget-friendly, easy to clean.
2. By Slat Size
- Mini Blinds (15–25 mm slats) – Sleek, modern, often aluminum.
- Standard Slats (35–50 mm) – Most common, balance of light control & view.
- Wide Slats (up to 65 mm) – Bold look, lets in more light when open.
3. By style
- Glossy / Matte – Modern or subtle styling.
- Textured / Embossed – Adds depth, can mimic wood grain.
- Perforated – Allows filtered daylight while keeping privacy.
- Two-tone or Patterned – Decorative variation for statement windows.
4. By Operation Style
- Corded – Traditional tilt & lift cords.
- Cordless – Cleaner look, safer for kids/pets.
- Motorized – Remote or smart-home controlled.
How to install Venetian blinds?
Step 1: Choose Mount Style
- Inside mount – Fits inside the window frame, neat look.
- Outside mount – Covers the frame, better for small windows or light blocking.
Step 2: Mark Bracket Positions
- Hold brackets at top of window (inside or outside).
- Use a level to ensure they’re straight.
- Mark screw holes with a pencil.
Step 3: Install securely
- Drill small pilot holes.
- Fix brackets securely with screws.
- Double-check alignment.
Step 4: Attach the Headrail
- Slide or snap the headrail of the blinds into the brackets.
- Make sure it clicks firmly.
Step 5: Test the Blinds
- Lower/raise blinds to check smooth movement.
- Tilt slats to test light control.
How to Clean Venetian Blinds?
🧽 Daily Cleaning
- Dusting: Close the blinds, then gently wipe them with a microfiber cloth, a soft dusting brush, or a cleaning tool specifically designed for blinds; flip the slats over to clean the other side.
- Vacuuming: Use a vacuum cleaner with a soft brush attachment set to low suction to gently remove dust, taking care not to scratch or pull on the slats.
💦 Deep Cleaning
- Spot Cleaning: Use a slightly damp soft cloth dipped in diluted, mild neutral detergent to gently wipe away stains, then dry with a clean, soft cloth.
- Aluminum / Vinyl Blinds: You can clean them with a damp cloth or mild soapy water. Avoid prolonged contact with water for the top rail, control mechanisms, pull cords, or motor components.
- Solid Wood Blinds: We recommend wiping them only with a dry or slightly damp soft cloth and drying them promptly to avoid soaking or excessive moisture, which can cause the wood to warp, crack, or suffer surface damage.
- Wood-Look Blinds: These typically have good moisture resistance and can be cleaned with a slightly damp soft cloth, but it is still recommended to avoid prolonged soaking or excessive water use.
⚠️ Things to Avoid
- Avoid using bleach, strong acids, strong alkalis, or abrasive cleaners.
- Avoid exposing solid wood blinds to prolonged moisture or water immersion.
- After cleaning, allow them to air dry naturally or pat dry with a soft cloth; avoid using high-temperature devices such as hair dryers.
- For motorized, cordless, or blinds with complex control mechanisms, avoid allowing water to enter the top rail or mechanical components.
How to measure Venetian blinds
The perfect Roman curtain begins with precise measurement. After selecting the installation method inside or outside the window frame, measure according to the instructions below to ensure a tight fit.

Inside Mount Measurement
Installs within the window recess for a streamlined, integrated appearance. Requires a minimum window depth of 2 inches to accommodate the shade's stacking height when raised.
Measure the width at three points—top, middle, and bottom of the window opening. Record the narrowest measurement and round down to the nearest 1/8 inch to ensure proper clearance.
Measure the height from the top of the window recess to the window sill. Round down slightly to prevent the fabric from dragging against the sill.
Note that Roman shades form stacked folds when raised. Verify adequate headroom above the window to accommodate this stack without obstructing the view.

Outside Mount Measurement
Installs on the wall or ceiling beyond the window frame. Ideal for maximizing coverage, concealing unattractive trim, or compensating for insufficient window depth.
Determine your desired coverage area, then add 2–3 inches to each side of the window width to eliminate light gaps.
Measure from your planned mounting point—typically 4–6 inches)above the window frame—down to where you want the shade to terminate. This may extend below the sill or to the floor, depending on your preference.
The dimensions you provide will be fabricated as the exact finished size. No deductions or additions will be made by the manufacturer, so precision is essential.